Understanding Cut Side Down
Before diving into the details of cooking a ham, it's important to understand what "cut side down" means. When you purchase a ham, it's usually either a whole ham or a half ham. A half ham will have one side that is flat and somewhat smooth, where it was cut from the other half. This side is called the cut side. To place the ham cut side down means to position the flat side on the bottom, so the rounded side is facing up. This helps with even cooking and retaining moisture.
The Importance of Proper Ham Placement
So why does it matter how the ham is positioned in the pan? The way you place your ham while cooking can impact its final outcome. Placing the ham cut side down allows the juices to flow down and pool around the bottom of the pan. This ensures that the ham remains moist and tender throughout the cooking process. Additionally, cooking the ham cut side down can help prevent the top from drying out and becoming tough, which can be a common problem with hams that are not positioned properly.
Choosing the Right Pan for Your Ham
Now that you understand the importance of placing your ham cut side down, let's talk about the right pan to use. It's crucial to choose a pan that's large enough to accommodate your ham without overcrowding it. Look for a heavy-duty roasting pan with a rack that will allow the heat to circulate around the ham, ensuring even cooking. A pan with high sides is also beneficial, as it will help to contain the juices and prevent any spills or splatters while the ham is cooking.
Preparing Your Ham for Cooking
Once you have the right pan and understand the importance of placing your ham cut side down, it's time to prepare your ham for cooking. First, remove any packaging or netting that may be around the ham. Then, thoroughly rinse the ham under cold water to remove any excess brine or juices. Pat the ham dry with clean paper towels. If your ham has a thick layer of fat, trim it down to about 1/4-inch thickness. This will allow the fat to render properly during cooking, keeping the ham moist and flavorful.
Seasoning and Glazing Your Ham
Now that your ham is prepared, it's time to add some flavor. There are countless recipes for ham glazes available, ranging from sweet and fruity to savory and spicy. Choose a glaze that complements your ham and your personal taste preferences. Before applying the glaze, you may want to score the surface of the ham in a diamond pattern. This not only creates an attractive appearance but also allows the glaze to better penetrate the meat. Brush the glaze evenly over the surface of the ham, making sure to get into any crevices or cuts.
Basting Your Ham During Cooking
As your ham cooks, it's important to baste it regularly to keep it moist and flavorful. Basting involves spooning or brushing the juices from the bottom of the pan over the surface of the ham. This helps to create a delicious, caramelized crust on the outside of the ham while keeping the inside tender and juicy. Be sure to baste your ham every 30 minutes or so throughout the cooking process for the best results.
Checking for Doneness
Knowing when your ham is fully cooked is crucial to avoid overcooking or undercooking it. The most reliable way to check for doneness is by using an instant-read thermometer. Insert the thermometer into the thickest part of the ham, making sure not to touch any bone, as this can give an inaccurate reading. For a fully cooked ham, the internal temperature should reach 140°F (60°C). For a fresh or uncooked ham, the internal temperature should reach 160°F (71°C).
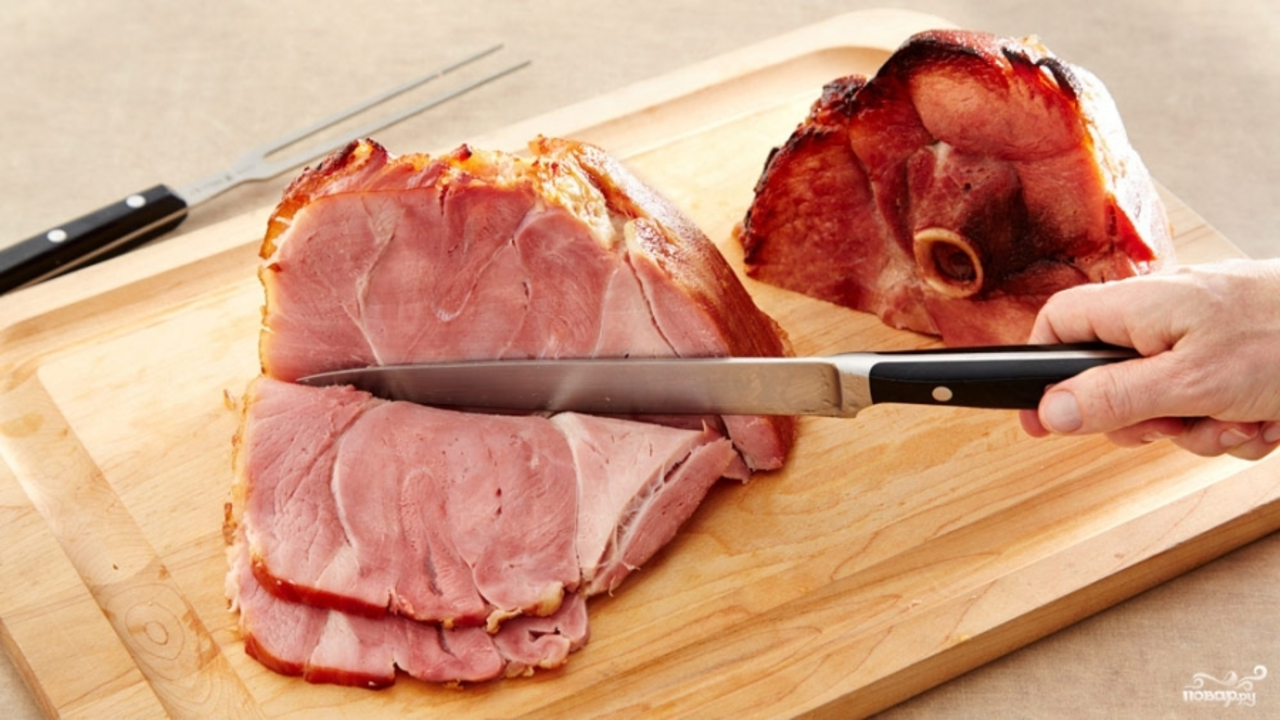
Resting and Slicing Your Ham
Once your ham has reached the proper internal temperature, it's time to let it rest. Allowing your ham to rest for 15-20 minutes before slicing it is important for a few reasons. First, it helps the juices redistribute throughout the meat, ensuring a moist and tender bite. Second, it makes the ham easier to slice, as the meat will be less likely to fall apart or shred. When you're ready to slice your ham, be sure to use a sharp knife and follow the natural muscle lines for the most attractive presentation.
Now that you understand the importance of placing your ham cut side down and the various steps involved in cooking a delicious, moist ham, you can confidently prepare a scrumptious feast for your family and friends. Enjoy!